

Temps de lecture : 2 minutes
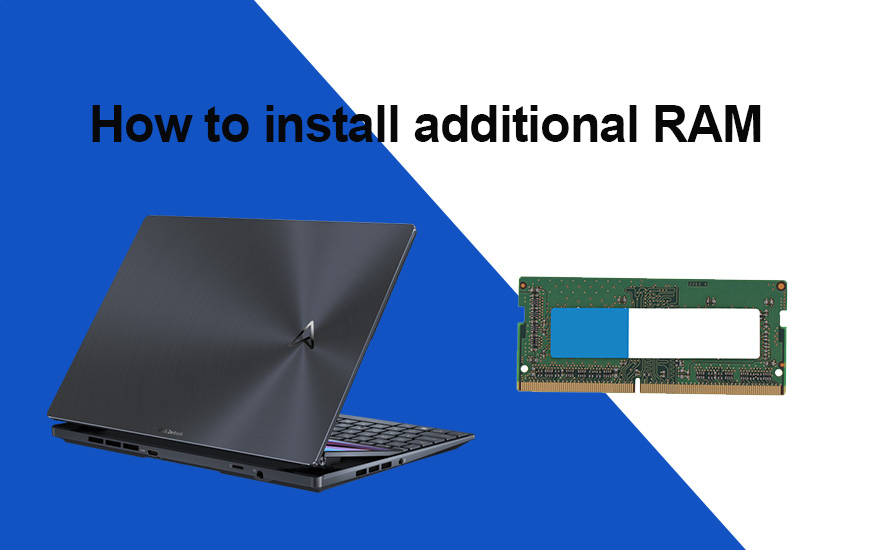
Update and Install RAM on your Asus Laptop
To update and correctly install RAM in your laptop, follow these general guidelines:First, ensure that the laptop is not connected to electricity and is cool and stable.
1. Close all your applications and save your work.
2. Shut down the computer - Windows shutdown process.
3. Unplug the power adapter cable going to the laptop.
4. Remove the battery.
5. Disconnect any other laptop cables, including an Ethernet cable or a phone modem cable.
6. If the laptop has been running recently, let it cool for about 15 minutes. Locate the access panel and open it.
7. Place the laptop upside down on a flat surface. You can use a protective mat and a soft cloth on your workspace.
8. To open the access panel cover, you may need to use a screwdriver if there is no built-in panel release mechanism.
Do not use the wrong-sized screwdriver; if you damage the screw, you will have difficulty performing this task.
We recommend the following toolkit designed for ASUS laptop repairs.
9. Gently remove the screw and place it in a safe location.
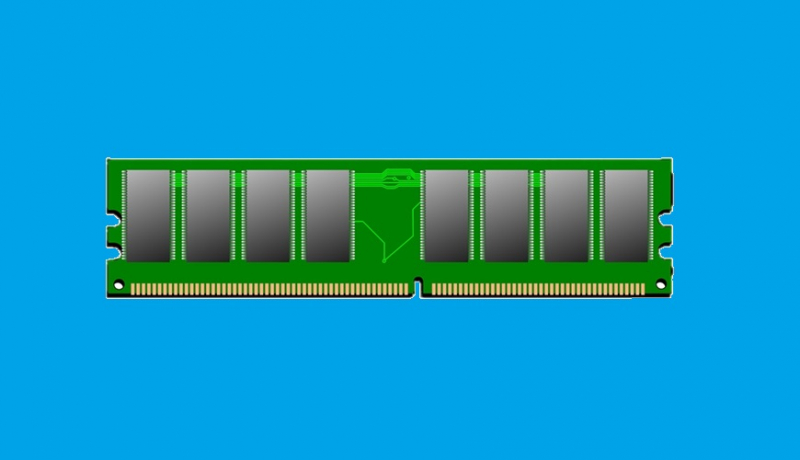
RAM Installation
1. Ground yourself before touching the memory module by touching a grounded metal surface.
2. Gently remove the new memory module from its packaging.
3. Hold the RAM card (memory module) by the sides, avoiding touching the connectors.
4. Locate an empty module slot. If you are completely replacing the RAM card, you need to remove the old one before installing the new one.
5. Hold the memory module by the sides, align it with the corresponding key slot, and slide the card into place. Make sure it's firmly seated.
6. Press down on the top edge of the device to lock it in place.
7. Replace the access panel cover and secure it with the screw.
Verification:
The added RAM should be detected by the motherboard.
You can follow the above instructions to verify that the system has recognized the new RAM or added RAM.
For more information, check out our article on everything about RAM.
You can follow the above instructions to verify that the system has recognized the new RAM or added RAM.
For more information, check out our article on everything about RAM.